
If you're making a sprite comic, you'll of course need sprites. What are sprites?
They refer to the 2d images of characters and monsters etc.
They are readily available in sheet form. Some games' sheets are complete, but for Ragnarok Online, the characters are missing their heads (since the characters can have different hairstyles).
You can get sprites for many games (not Ragnarok Online) here.
For Ragnarok Online sprites, I keep my backups here.
I'll be assuming that you're making a Ragnarok Online character... and that you have some idea how to use MSPaint now.
The Easy Way
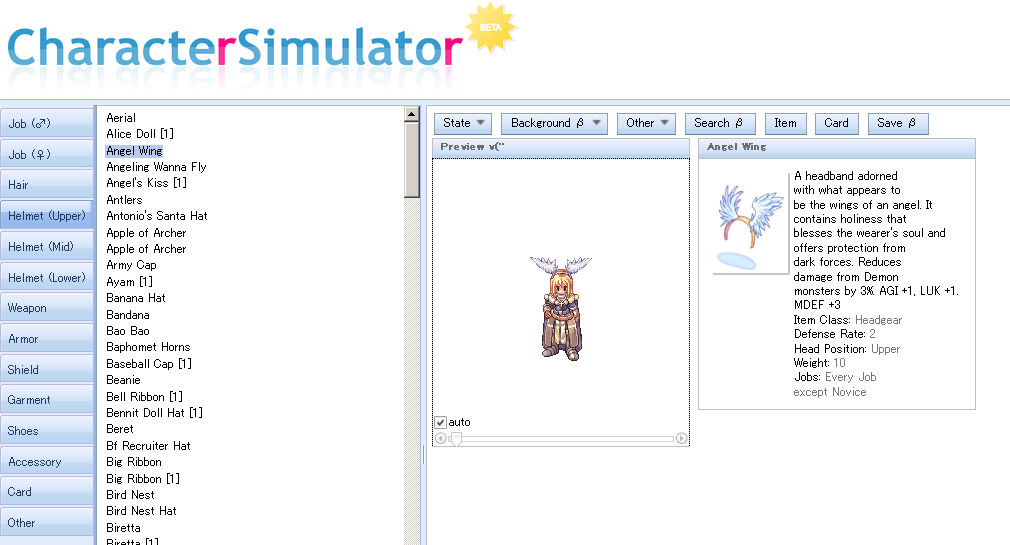
Yes, there is an easy way and a 'hard' way to do this. The easy way is this: go to any RO character simulator (I used http://nozomi.arege.jp/ro/index.en.html).
Make the character and then press the "Print Screen" button on your keyboard. Mine is on the top row, next to all the F-keys. It may say "Prt Scrn" or something instead.
Open MSPaint and Paste.
Here is the character I made.
Box your character and copy. Open up a second MSPaint and paste her there.
The nozomi is really cool in that when you click around the character, she'll turn to face that direction. From this, you can easily make your own spritesheet for your character. Here's the one I made.

The sim also has sitting, casting, walking, attacking, dead etc. poses. With a sim, you might not have to use a sprite sheet at all.
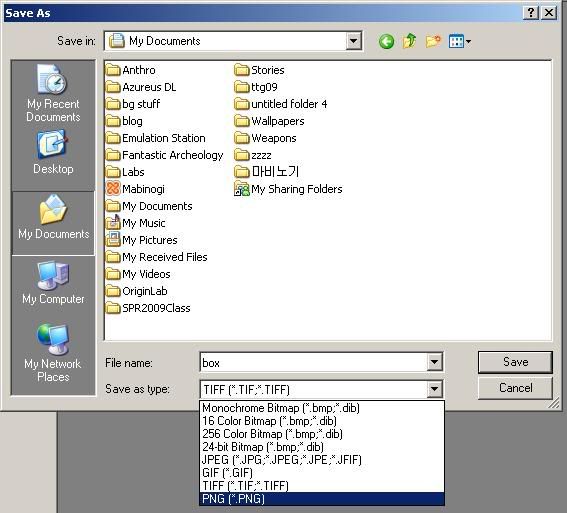
Make sure you SAVE the sheet as a .png or .bmp!
The 'Hard' Way
The hard way would be building up a character using spritesheets. Considering how the sim pretty much does everything for you, this method is nearly obsolete, but I'll show how anyway. You may still learn some MSPaint tricks!
Parts:
Body
Head
Headgear
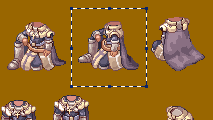
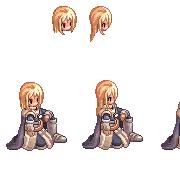
Use MSPaint to open up the class/body sheet. Put a box around the pose you want to use. I'm using this one.
Copy. Now, open up a new MSPaint and paste it into there.
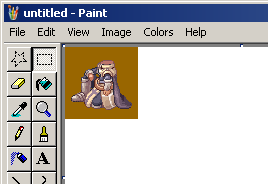
That brown is hideous. Just fill it in with white using the Paint Bucket. Make sure to zoom in and get all the brown bits on her!
What if I want her facing the opposite direction? Changing the direction is actually quite easy.
Simply box her again. Then, go to Image -> Flip/Rotate and select "Flip Horizontal".
(Win 7: box her, then click "Rotate" and select "Flip Horizontal".
Now, make a copy of this body and paste it next to her. It's always good to have extra copies.
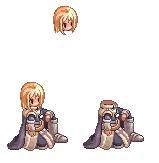
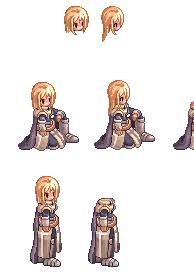
Now she needs a head! Go to your head sheet and pick out the head.
Copy and paste the head onto the same canvas her body is on.
You'll have to paintbucket the background white for the head, most likely, and perhaps change the direction the head is facing as well.
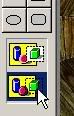
Now to put the head on the body. Box the head and Copy it. Make sure this transparency setting is selected:
(Win 7: click the arrow under select and choose "Transparent Selection")
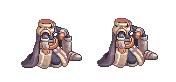
Paste and then move the copy onto her head, where you feel it looks good.
What if I decide I want her head to look in a different direction? That's why I made a 2nd copy of her body. Just put a different head on it. Heck, you could make another copy of the body now again, just in case you want to put yet another head on her.
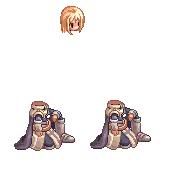
Whay am I keeping the heads floating up there? Well, what if I wanted to make her standing up instead? I would simply copy in her standing pose, color its background white (you know the drill now). And hey, I've conveniently already got her head floating up there. So simply copy her head onto her new standing pose.
Oh, but what if she needs a headgear?
Open the headgear sheet and, well, you should know what to do by now.
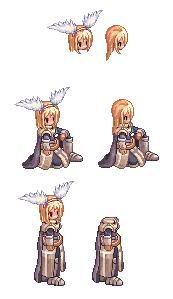
If she will -always- be using that headgear, I suggest putting it onto the base head sprites, too.
What if, later, I find out I want her to turn around, face the opposite way?
Simply box the pose you want to flip, and go to Image -> Flip/Rotate and "Flip Horizontal." That's all there is to it!
Save your character as a .png image. You will NOT be able to continue to the next step if it is saved as a .gif or .jpg!
And that's it. All of my characters have their very own spritesheet. Here's Ellsy's old novice sheet as a bonus!

Next, we'll put the sprite into a background!
Another great guide there. Seems like you're really getting into making comics again. =)
ReplyDeleteOh and it looks like that charactersimulator is a bit of help aswell. Probably more to new comicmakers since you already have most of your spritesheets I assume. Looking forward to the new comic!
Yeah. While the sims are useful, I still tend to make my characters from scratch. Cameo characters, on the other hand, I don't put my soul into, so they're straight from a sim, hehe.
ReplyDeleteHe, I'm not blaming you. :D
ReplyDeletedunno if you know, but... here's the sim! it just moved to a new address ;3
ReplyDeletehttp://nozomi.arege.jp/ro/index.en.html
Awesome, thanks!
Delete