
Continuing straight from the last part, open up your first panel. It'll open in a new window. You can move it next to your work-in-progress to use as a reference.
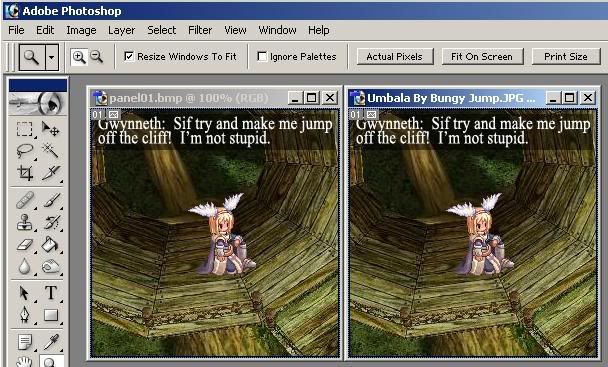
To make your second panel, simply edit the "work-in-progress" panel with all the layers. You can select the text layer and change the words, add another character to the picture, change the pose of the character that's already there, delete the character that's there... all in the same file.
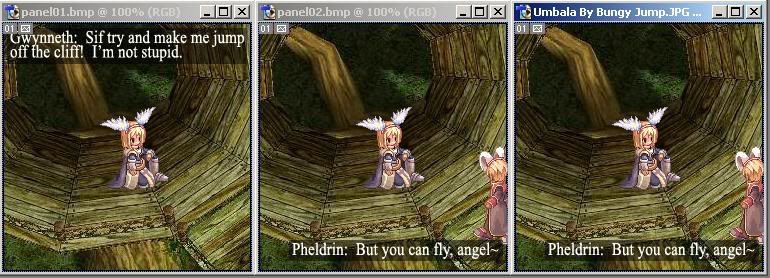
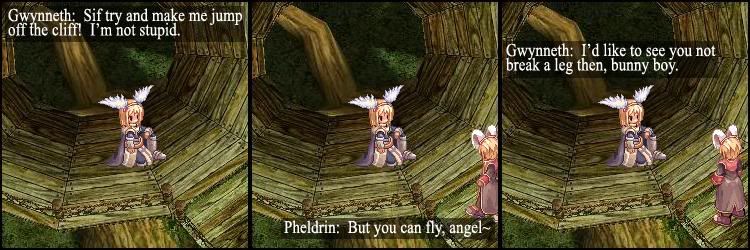
Look, I've changed the location of the text and what the text is saying (and I've added another character).

But even if I use the Move tool to move the "Black Box" it will not fit the new size of the text.
You can simply clear it, hide it, delete it, or reuse it.
There we go! A basic panel one and panel two has been made now!
Now for a third one. I've decided I don't want Pheldrin standing that way. He's walked on-screen, so he should be in a standing pose now, right?
Let's paste his new pose in, edit it, and place him over where he was standing in panel 2. Look at him, he's on top of himself.
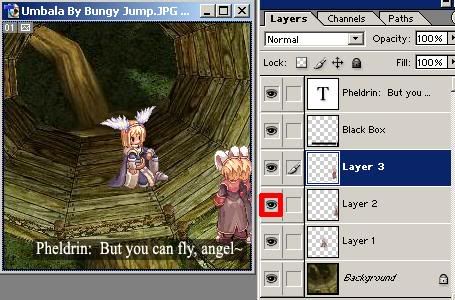
See that little eyeball thing that I've marked in red there? That tells you that the layer (Pheldrin's walking pose from panel 2) is "visible." If you click it, that layer becomes "invisible."
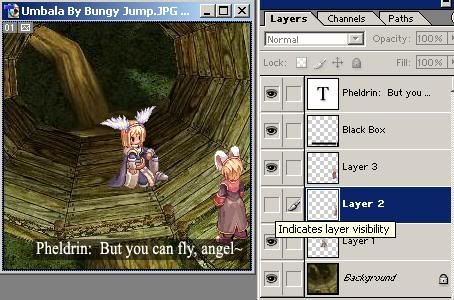
Now that I've made the old layer invisible, he's no longer on top of himself. Also, if you save it now, Photoshop will keep the invisible layers invisible; the final product will not show both Pheldrins at once.
Although, you could also accomplish this effect by right-clicking the problem Layer and selecting Delete.
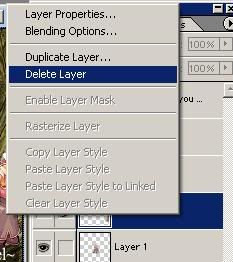
It's bad practice to do this, though, in case you'll need that other sprite again.
All right, I'm done with all three panels.

But... now I have three separate panels. How to stick them together to make one complete comic?
Time to go back to MSPaint!
Open panel one.
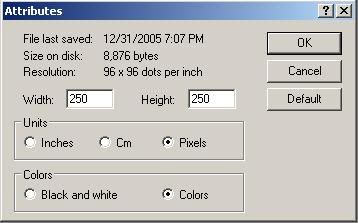
Now, do you remember what sizes of panels you've decided to use? Remember, I chose 250x250 pixels. What matters right now is the width of the panels. You want to know how much room you'll need for all three panels. For me, that would be 750 pixels.
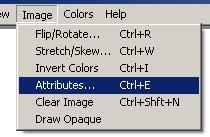
Go to Image -> Attributes.
And put in your total width for the width section!
Should result in extra white space:
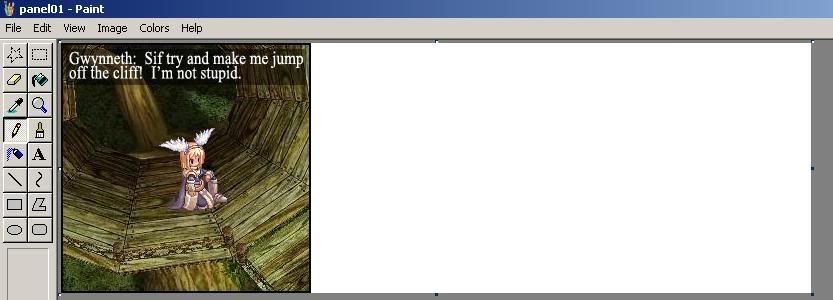
Now open another Paint and open panel02. Go to Edit -> Select all and then Edit -> Copy. Go back to panel one and past it in. Drag it into the second panel postion. Do the same with panel03 and there ya go.
Save it as a .png!
Keep going for some more Photoshop tips and tricks!
No comments:
Post a Comment