
First: The tools of the trade. I use MSPaint (sorry MacOS/Linux/Etc. users, but I'm on Windows...) and Adobe Photoshop (7.0). You can make the comic using only one program, but I use a mix of both. This guide is geared towards these programs. I'm sure you can do all these things in Paint.net or the GIMP and any other image-editing program, but I don't have them, so I wouldn't know how.
Step 1: Go in-game and get a screenshot!
Yes, most of my backgrounds come from in-game screenshots. This can be the worst part: players and monsters and NPCs have a habit of being in the way of the shot. If you are using official servers, an Assassin with the cloaking skill or a Thief/Rogue with hide can be used to hide your character.
Use the Alt+End keyboard combination to hide the HP/SP bar. Use /effect and /fog as appropriate to turn off zone warp portals and atmospheric effects.
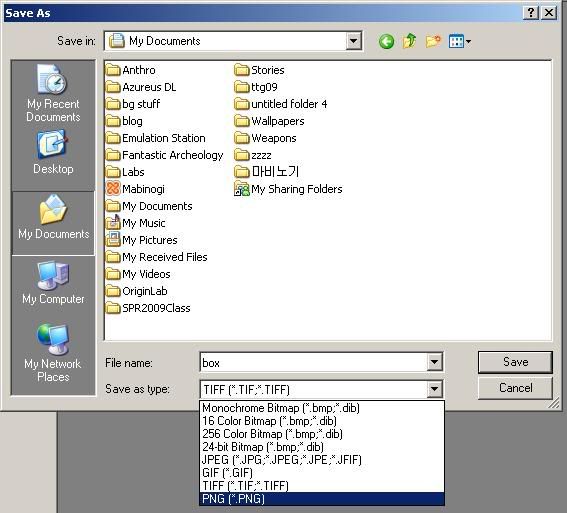
But before you even do this: do you have a screenshot-taking program? Ragnarok Online's in-game screenshot feature saves the screenshot as a .jpg file, which is a lossy file format. It will make your background grainy and unpleasant to look at in this day and age of screenshot perfection. There are several ways to take a clean screenshot. Our goal is to obtain a.png file which is lossless:
1. Play the game in a window. When you have your shot lined up, click outside the game window (e.g. on your desktop), and then press the Print Screen key on the keyboard. Then, open your image-editing program (like MSPaint) and press Control+V to paste in your screenshot. File - Save and choose a .png file in the File Type drop-down menu.
Depending on your server, you might also need the MouseFreedom DLL file in your Ragnarok Online's installation directory in order to be able to click outside the game window. Use a search engine to find it if you find that you need this.
2. Use FRAPs to take screenshots. The free version of FRAPs will only allow you to take screenshots as bitmap files, but that's fine; bitmaps are not lossy.
3. Use another program to take screenshots as png. Irfanview should work fine.
There is also a program called RagCam which simulates the game in a FPS-like view. It requires a lot of RAM, though, and setting it up can be a pain, and the lighting is always too dark in my experience.
Step 2: Once you have your screenshot, simply crop it down to the size you want.
You can honestly stop reading the guide here if you prefer to crop the screenshots your own way.
I like having all my panels the same size. So, if you want to do that, too, I will continue with how I do that. I'm sure there are easier ways, but this is how I do it.
Open up MSPaint. Here's the screen you'll see.
(Note: this guide is for pre-Windows 7 versions of MSPaint. Windows 7 will have different steps, which I'll in parenthesis. Sorry, no visuals)
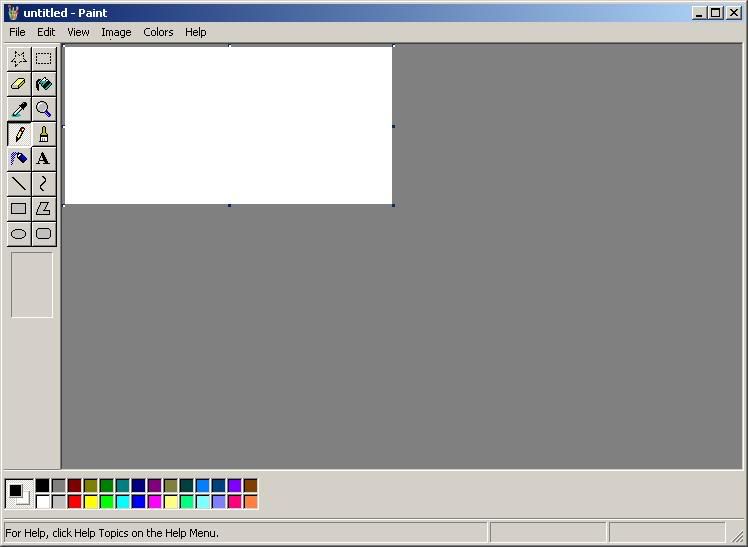
Using this program, you will create a blank box the size of one panel for your comic. This way you can cut your screenshots into perfectly-sized panels.
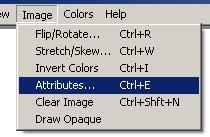
On the top toolbar, click the "Image" button. Then select "Attributes."
(Win 7: Home tab - Resize)
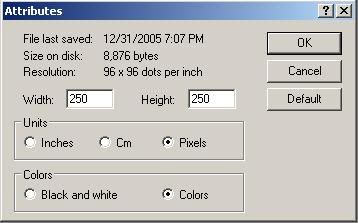
How big do you want one panel to be? I set mine in pixels, 250x250 squares. Put the dimensions in the box and have the correct buttons checked.
(Win 7: In the Resize box, click Pixels and uncheck "Maintain Aspect Ratio" then put in your dimensions)
Now you must outline the panel in black (or any other color... but I use black).
A black outline will separate the panels from one another when they are put together to form a full comic.
If you don't want an outline, you can delete it afterward.
First, choose (left-click) your outline color from the color palettes on the bottom (i.e. black).
Next, click the magnifier tool.
(Win 7: Magnification options are at the bottom right corner. It's default at 100%. You can also still use the magnifier. Leftclick zooms in, and rightclick zooms out)

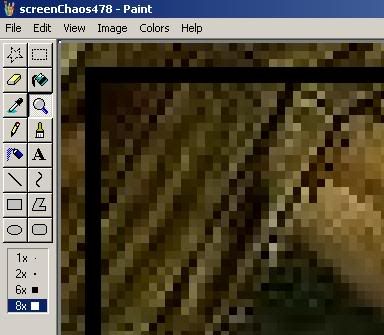
Now, click the top-left corner of the big white MSPaint background. This will zoom in on the area.
You want to zoom in, so click 8x on the sidebar, as shown below.

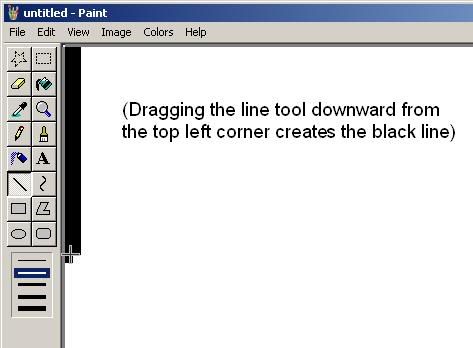
Now click the line tool.
(Win 7: It's the first "shape" in the Shapes box. Note, you'll have to click "Size" and lessen the brush size)

Use this tool to create a border along the edges of your box all the way around. Yes, on all sides.
Scroll left and right to get all the sides.
Here is a sample box at 96x96:

A bit too small for a comic, but good for, say, a forum or chat avatar!
When you have made your box, be sure to save it!
Go to File - Save As... and save it as a .png file.
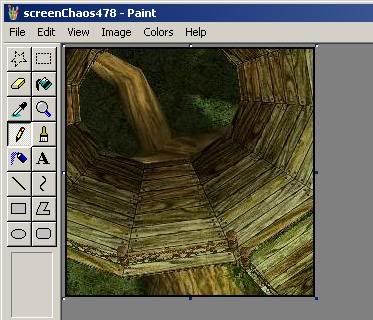
Step 3: Boxing a Background.
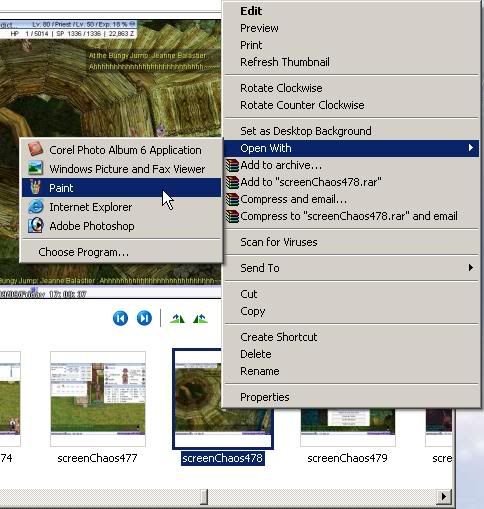
Open your screenshot folder (or wherever your background is). Find the screenshot you want to turn into a background.
Right-click it and select "Open With..." and select Paint.
(Win 7: Right-click and select "Edit" should default to Paint)
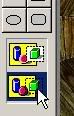
Also open up your box!
On the taskbar at the VERY bottom of your screen, you'll see two Paints open. If you're not already looking at the box, click the box to open it up.
(Win 7: Multiple instances of the same program will group together. Just hover over it to change the instance)

Now that you have your box open, go to "Edit" and choose "Select All." (or use the Control+A keyboard combination)
(Win 7: Home tab - click the little down arrow under "Select" and choose "Select All")
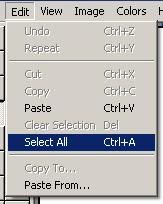
Then click "Edit" again and click "Copy." (or use the Control+C keyboard combination)
(Win 7: Just click "Copy")
Now, use the bottom of the screen again to move back to your screenshot.

With your screenshot open, open the "Edit" menu again. This time select "Paste" (or use Control+V). Note that the white is blocking out your screen!
(Win 7: Just click "Paste")
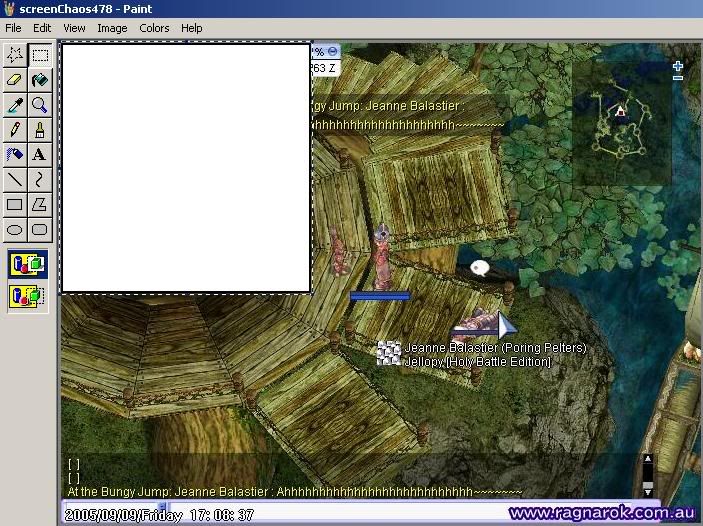
Before doing anything else, select the very bottom option of your toolbar on the left. This will remove the white.
(Win 7: Click the little arrow under "Select" and choose "Transparent Selection")
Now, click the box you pasted in and drag it to wherever you want. Where you move it should, of course, be what you want your final background to be.
Click outside of your box to deselect it.
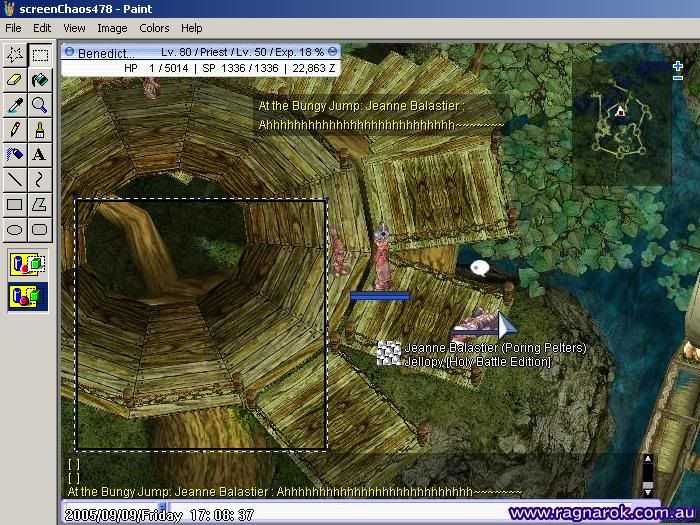
Now, go to Edit - Select All
Drag the whole screenshot up so that the box is near the top left area of the paint canvas.
(Win 7: If you're precise, click the Select box and drag a box around your black box with precision, then click Crop to skip to the end)
Click the Magnifier tool and select the 8x option.
It will zoom in on the top left corner of your screenshot.
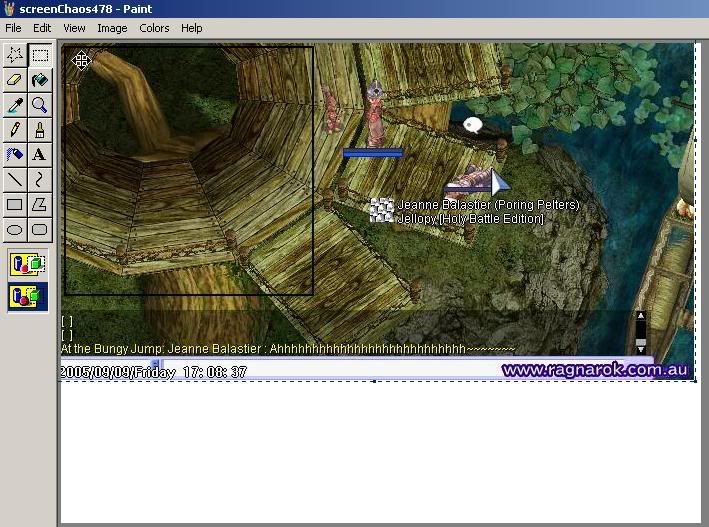
Now you want to Edit - Select All again, and slowly drag the picture so that the black outline touches the edge of the canvas
(Notice the difference between this picture and the previous one).
If you don't want to keep the black outline, this is the point where you should remove it. Just drag the picture further into the corner until you lose the black.
Zoom out (Use the magnifier tool and click the screenshot again).
Go to Image - Attributes again and choose your panel size.
You should now have a perfectly sized background panel! Yay~
Now, save it as a .png! Otherwise, it will become grainy.
Also, remember where you saved it. The default is in "My Pictures." I recommend making a separate folder for backgrounds so that you can keep them all in one place.
Next: Making a character!
Ah a very nice and detailed guide. I'm sure you're happy with how you make the comic and it really turns out well in the end. So you probably don't want any hints but anyway (sorry) I was thinking why not using the rectangle tool instead of line for makeing the frame? You should save some timme with it as you can decide on the size of the borders aswell. Just thinking.
ReplyDeleteThanks for the guide though!